
Learning to play the bass recorder can be incredibly rewarding, but its size and keywork make proper finger placement more complex than on soprano, alto, or tenor recorders. For this reason, beginners rely heavily on a bass recorder finger chart, which visually shows exactly which holes to cover and which keys to press to produce every note.
Whether you’re learning for school, early music ensembles, or personal enjoyment, understanding how to read a bass recorder finger chart is the first step to clean tone and accurate pitch.
What Is a Bass Recorder Finger Chart?
A bass recorder finger chart is a diagram that shows:
- Which finger holes should be covered
- When to press key mechanisms
- How to use the thumb hole
- Fingerings for natural notes, sharps, and flats
- Both low-register and high-register note fingerings
Because bass recorders are large instruments with additional keys, a finger chart is essential for learning correct hand positions and producing accurate notes.
Why a Bass Recorder Finger Chart Is Important
1. Helps Beginners Understand Complex Fingering
The bass recorder’s size makes some holes difficult to reach, so keys and alternative fingerings are common.
2. Teaches Proper Thumb-Hole Technique
High notes require thumb venting — shown clearly in charts.
3. Prevents Squeaks and Airy Notes
Correct finger placement allows clean, stable tones.
4. Supports Chromatic Notes
Sharps and flats such as F#, Bb, and G# often use half-holing or unique combinations.
5. Makes Practice Faster and Easier
A visual guide ensures consistency and accuracy while you learn each note.
Producers working on vocal alignment find that the real-time pitch analyzer helps them identify off-pitch moments before the mixing stage.
Parts of a Bass Recorder Shown in the Chart
A complete bass recorder fingering chart often includes:
Thumb Hole
Used for:
- Low notes (fully closed)
- High notes (partially vented)
Seven Main Finger Holes
Displayed as open or filled circles showing which holes to cover.
Key Mechanisms
Bass recorders include added keys for:
- Low F
- F#
- G
- Pinky keys for lower holes
- Alternative fingering keys
Charts clearly mark when these keys should be pressed.
Half-Hole Symbols
Used for accidentals such as F#, G#, C#, etc.
Baroque vs. German Fingering
Bass recorders use two fingering systems:
Baroque Fingering (Standard)
- Most accurate tuning
- Preferred for ensemble and professional use
- More common on modern bass recorders
German Fingering
- Simplifies certain notes such as F#
- Less accurate tuning
- Rare on bass models
Always check your recorder type — the finger chart must match the fingering system.
You can evaluate the system’s precision by comparing your results with our pitch accuracy tests for a deeper performance breakdown.
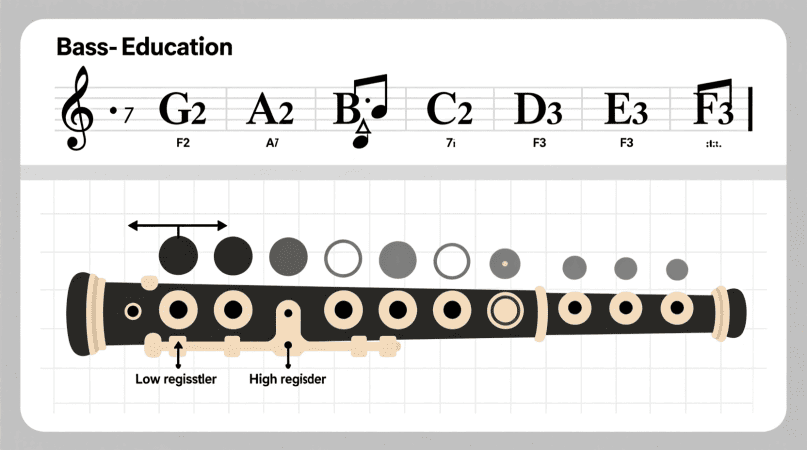
Common Bass Recorder Notes Shown in the Chart
A bass recorder in F typically starts on a low F2 and moves upward:
- F2
- G2
- A2
- Bb2
- B2
- C3
- D3
- E3
- F3
- Higher notes through thumb venting
Charts include natural notes plus accidentals:
- F#
- G#
- Bb
- C#
- D#
How to Read a Bass Recorder Finger Chart
1. Filled Circles = Closed Holes
Indicates which holes your fingers must cover completely.
2. Open Circles = Open Holes
Shows which holes remain uncovered.
3. Half Circles = Half-Holing
Used for specific sharps/flats.
4. Keys Highlighted
Key symbols or shaded areas show which metal keys must be pressed.
5. Thumb-Hole Notation
- A filled thumb circle means fully covered
- A half-circle means partially vented
- Open means thumb is completely off the hole
Mastering this reading system ensures accurate fingering every time.
Tips for Using a Bass Recorder Finger Chart
- Practice slowly with steady air pressure
- Keep hands relaxed to avoid tension
- Lift fingers minimally between notes
- Use thumb venting carefully for higher register notes
- Work on chromatic fingerings gradually
- Consult your chart frequently until fingerings become automatic
Common Beginner Mistakes (and How to Avoid Them)
Lifting Fingers Too High
Keep fingers close to the holes for faster transitions.
Inconsistent Thumb Venting
High notes will crack if thumb pressure is uneven.
Forgetting Key Mechanisms
Low notes like F and F# require key use — consult the chart.
Leaks Around Holes
Ensure fingers seal holes fully to avoid airy tone.
Final Thoughts
A bass recorder finger chart is an essential tool for any beginner or advancing student. It provides a clear, visual guide to proper finger placement, thumb-hole techniques, and keywork usage. By practicing with a finger chart, you’ll learn to produce accurate pitches, avoid squeaks, and build confidence across the entire range of the bass recorder.
Pitch Detector is a project by Ornella, blending audio engineering and web technology to deliver precise, real-time pitch detection through your browser. Designed for musicians, producers, and learners who want fast, accurate tuning without installing any software.